Deno
Until recently, if you wanted to run javascript outside the browser, you would use node.js. Even now, node.js is by far the most popular runtime for javascript -- it has a massive community, and used ubiquitously across the internet, and can inevitably be found in any industry where you might find a computer.
The past few years, however, have seen some rival projects reach maturity, including Deno, and Bun. Although Bun looks intersting in its own right, in this post we will be focusing on Deno.
Deno
First, install Deno, with:
brew install deno... if you are using a Mac, or:
irm https://deno.land/install.ps1 | iex... if you are on Windows.
Make a new github repo called deno_server:
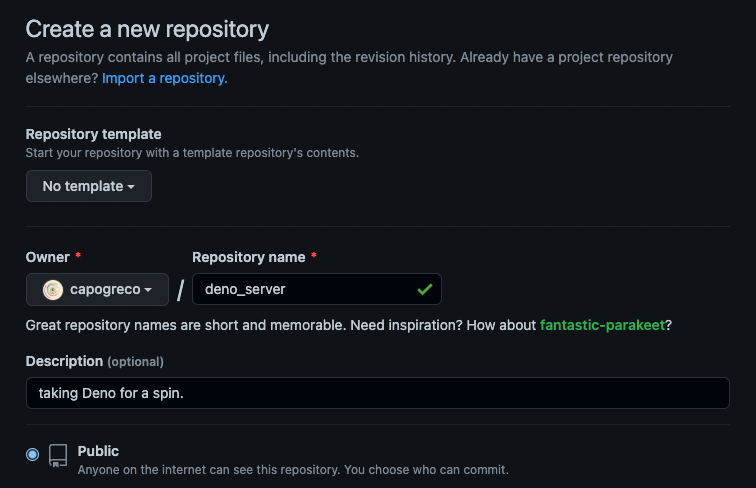
... and clone it in your Documents folder (or wherever), with:
git clone https://github.com/yourusername/deno_server.gitMake sure you are put your own username in the URL where it says yourusername
Open VSCode to that location:
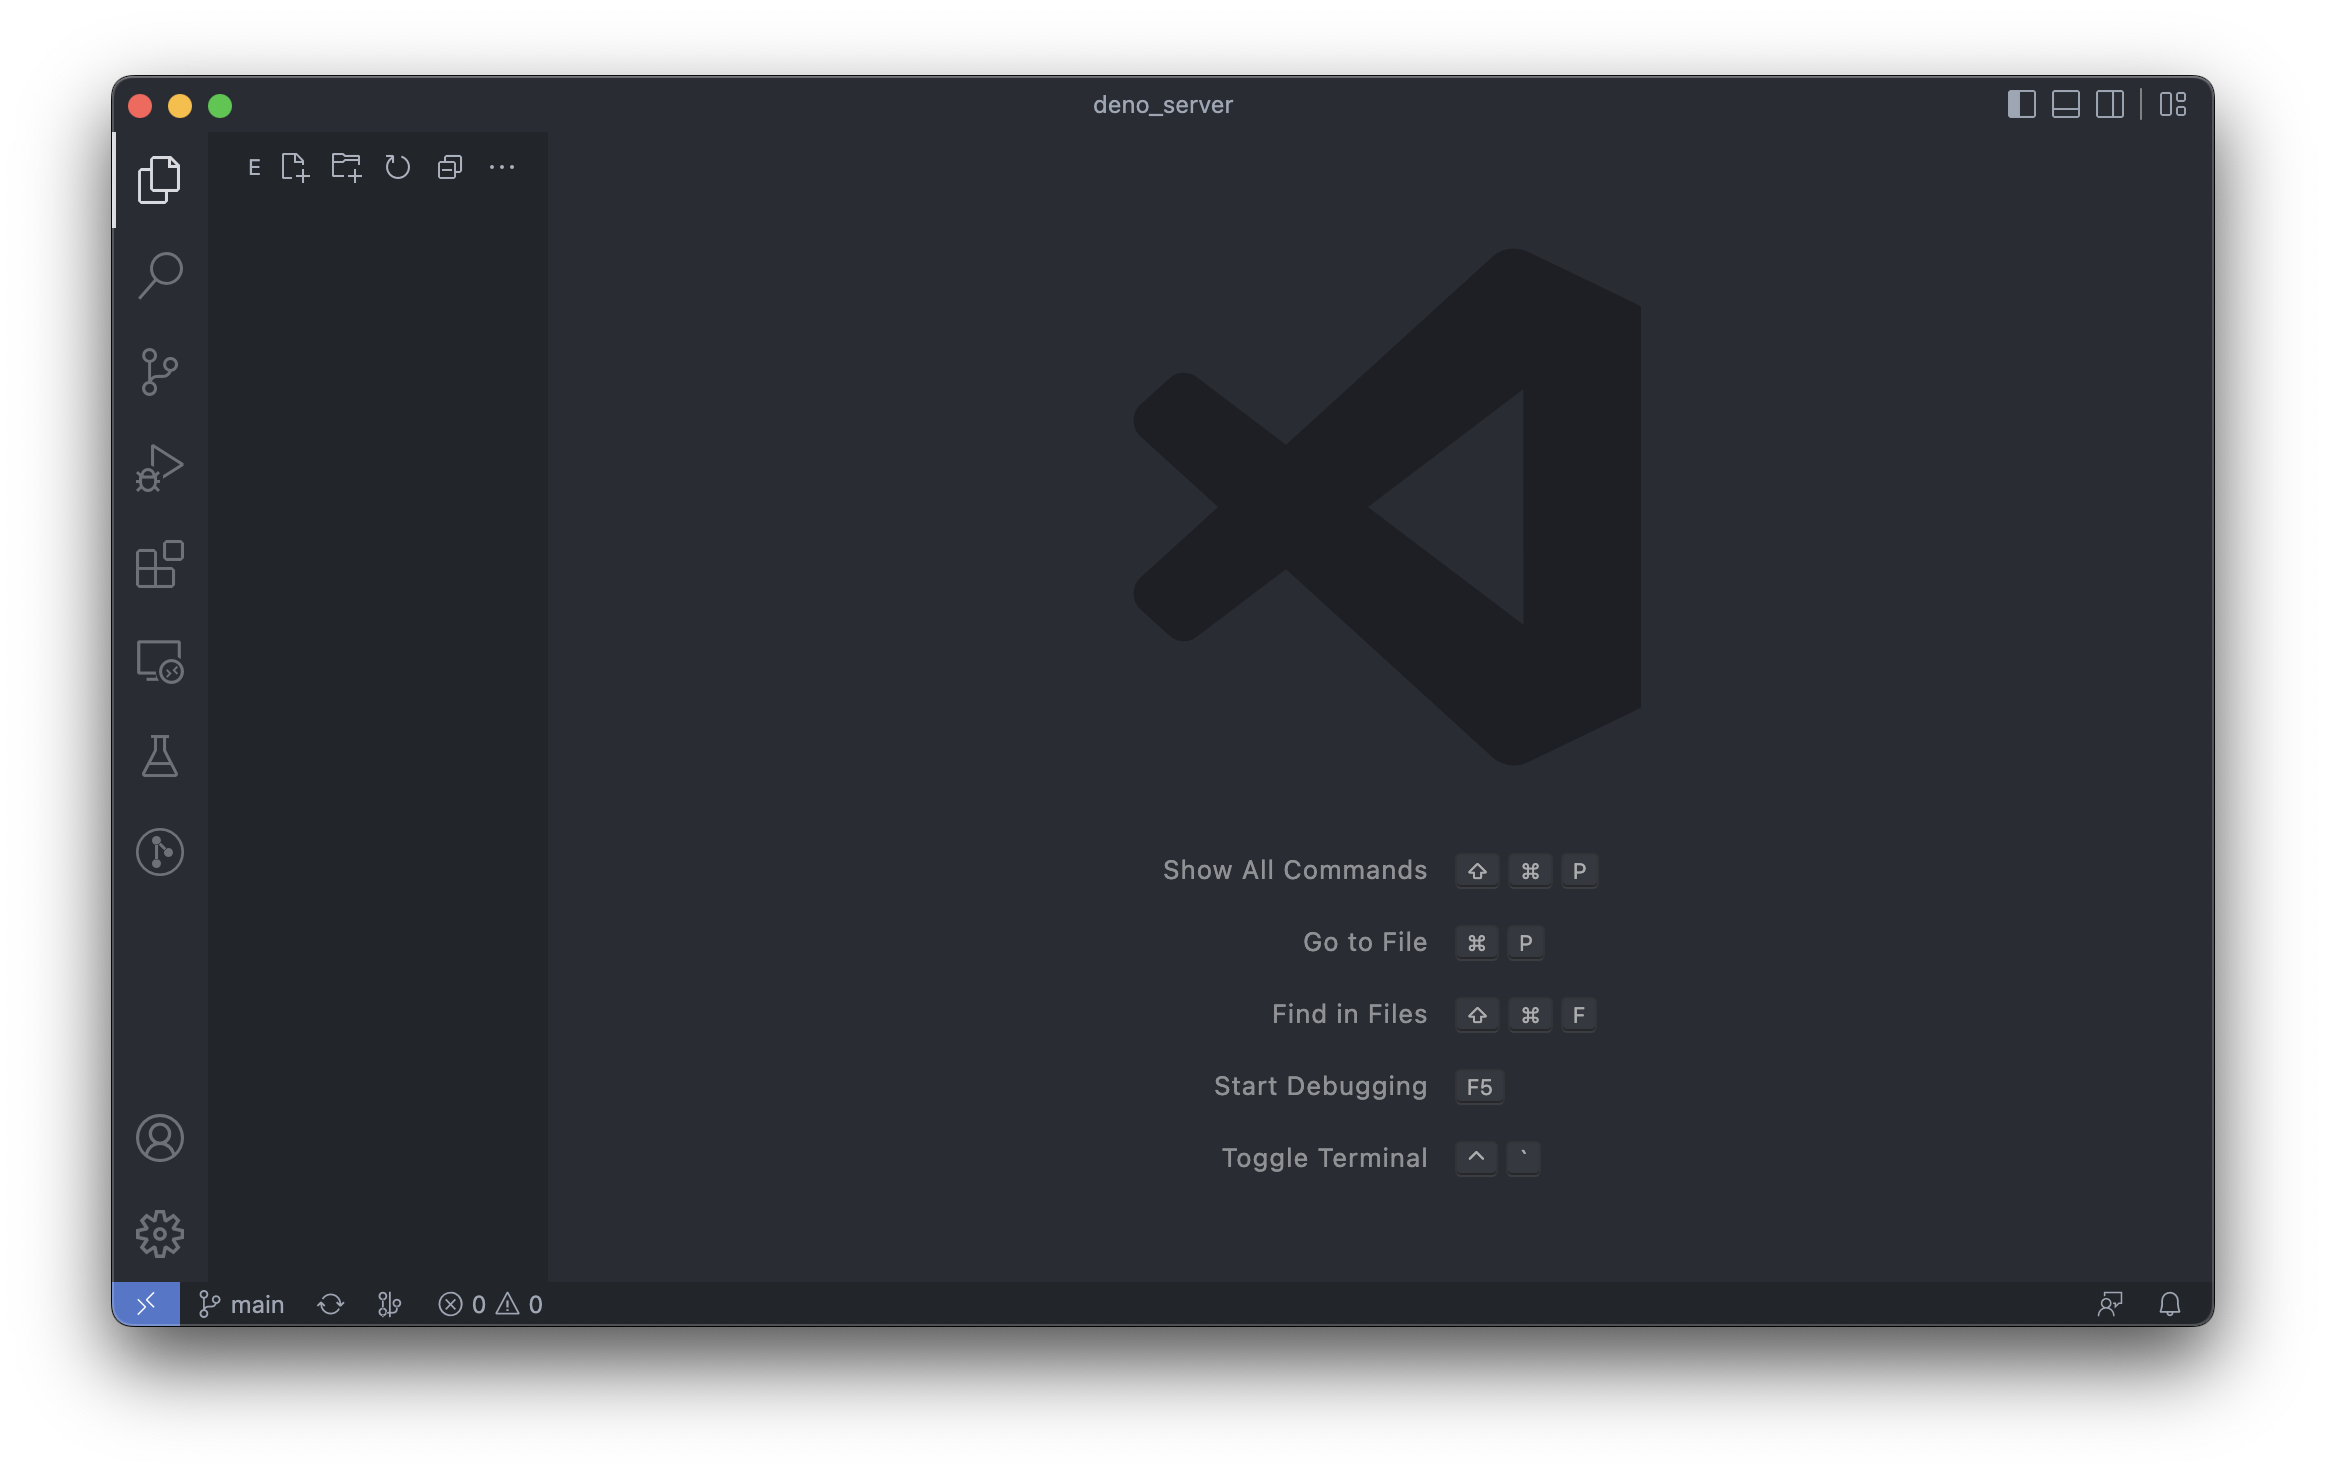
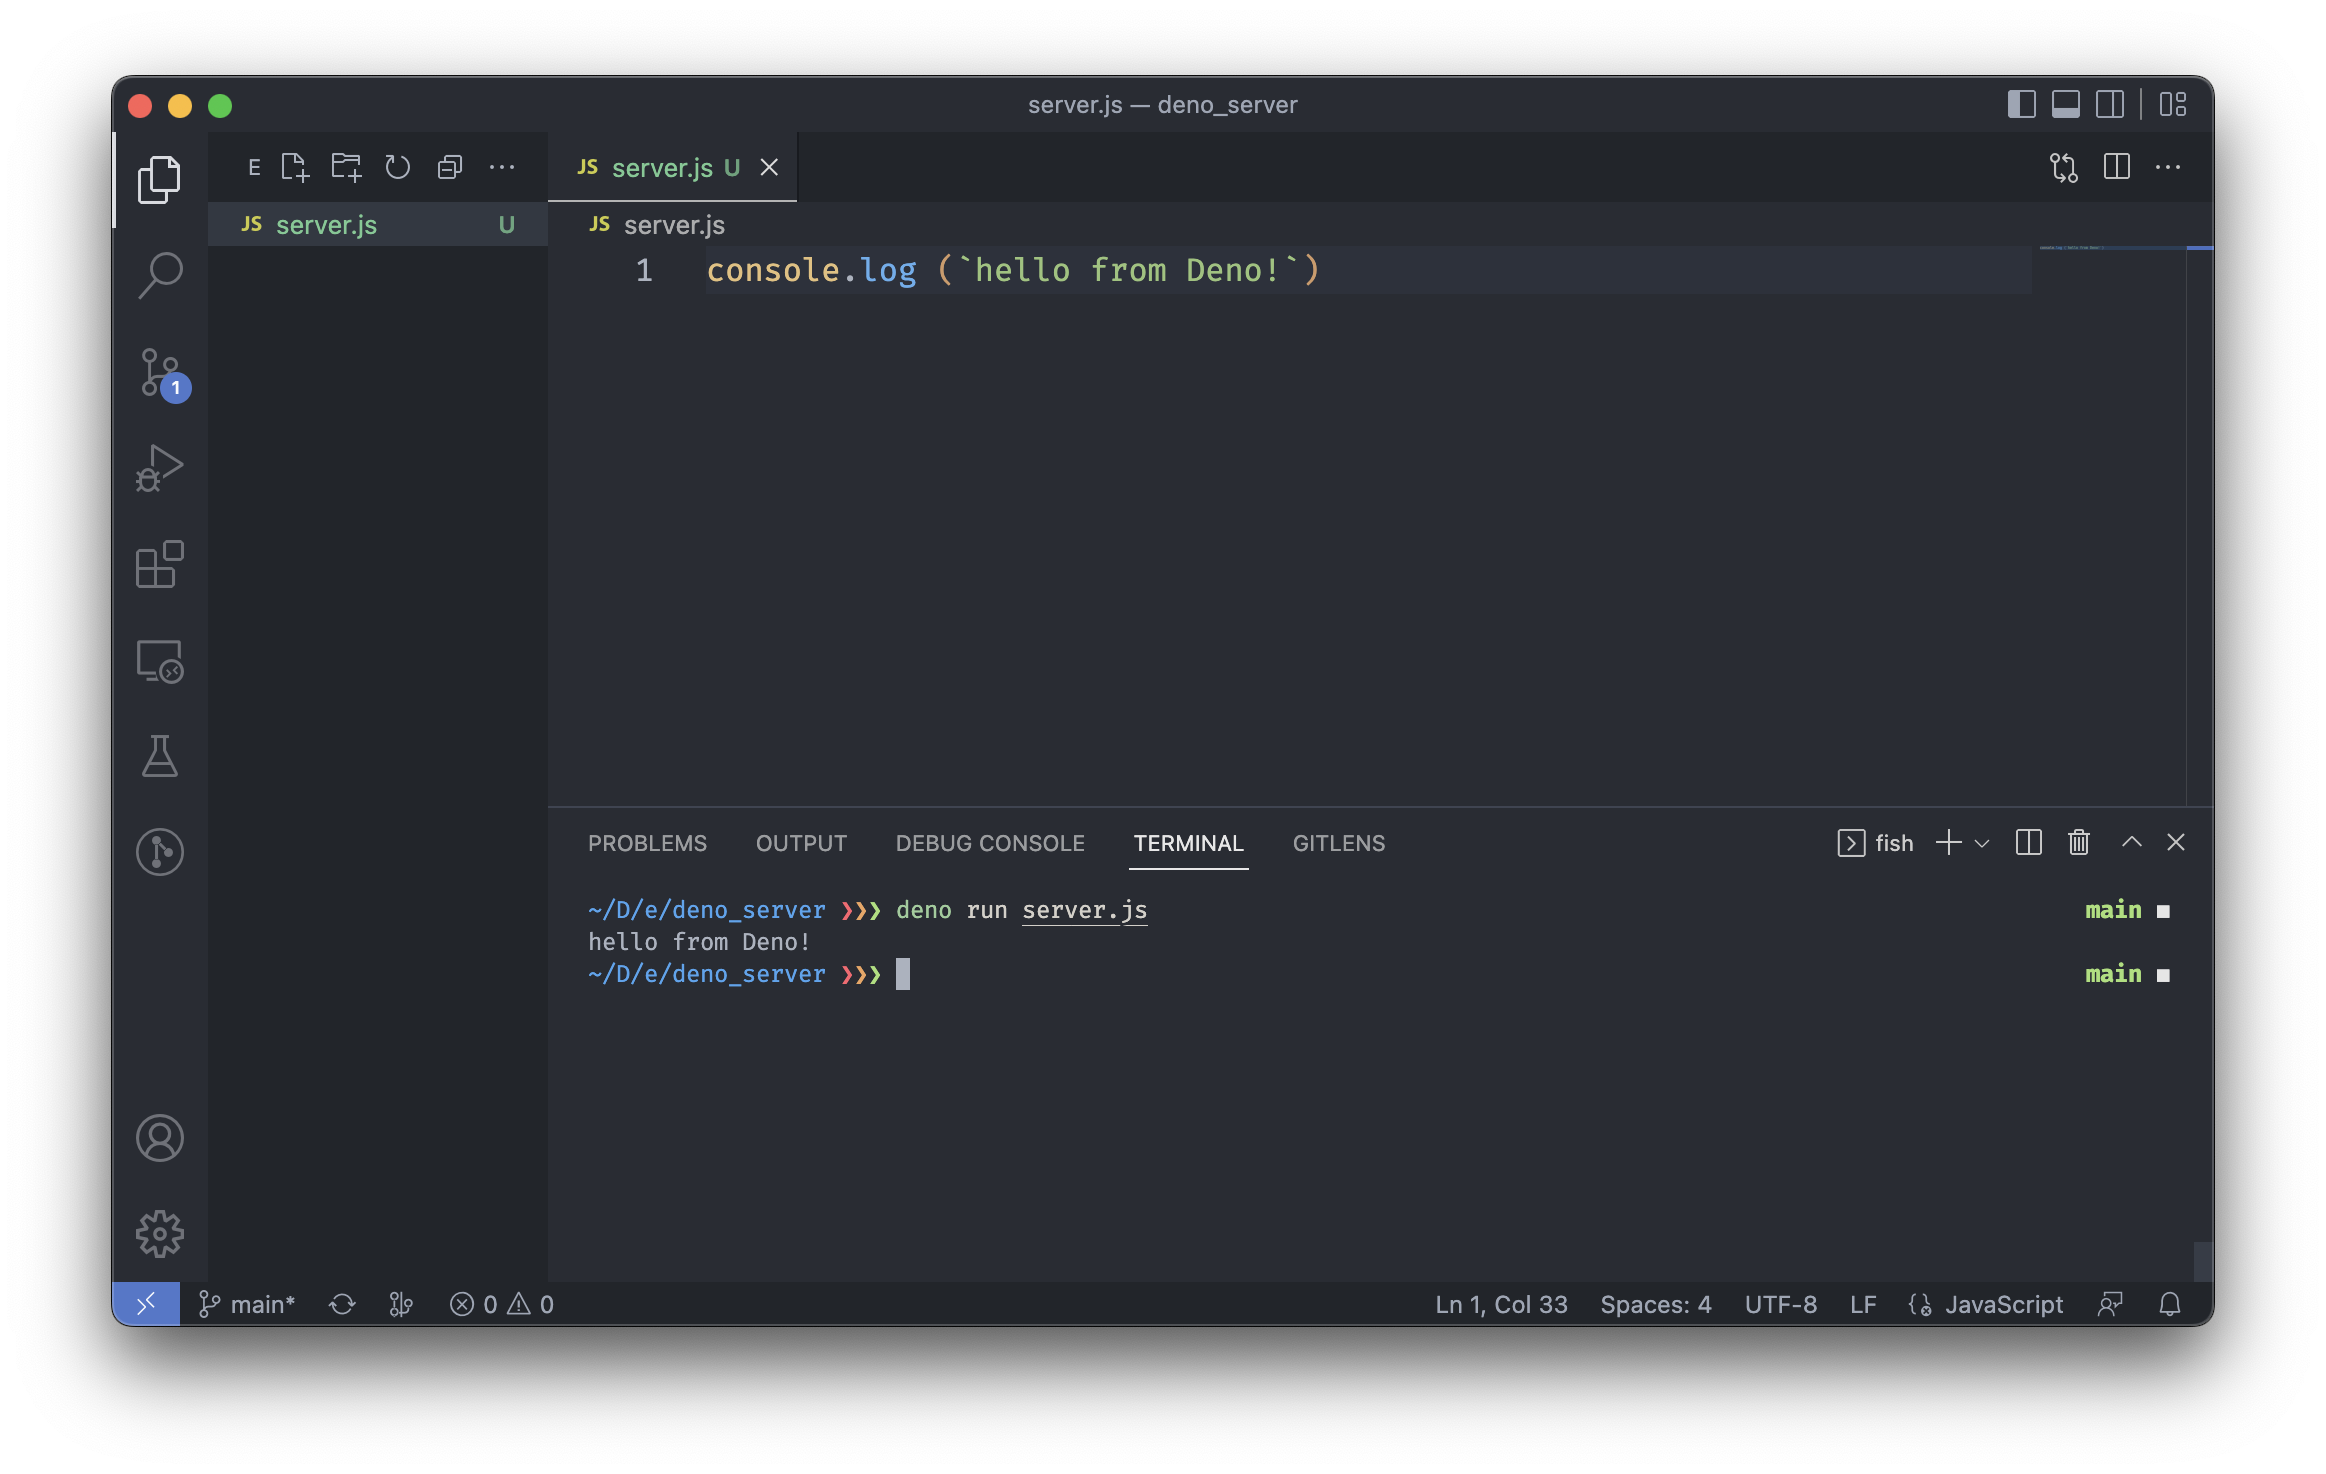
Save a new file called server.js, containing the following code:
console.log (`hello from Deno!`)Open up the terminal in VSCode with ctrl + ` and type:
deno run server.jsDeno should run the code in server.js, in which the console.log () function prints its argument, `hello from Deno!`, to the terminal, like this:
Serving a Static Site with Deno
If you followed the instructions in the Net Art Walkthrough post, you will have most probably been using a node.js script, live-server, to serve your net art website. In this section we will build a server that does this job, but from scratch, and with Deno.
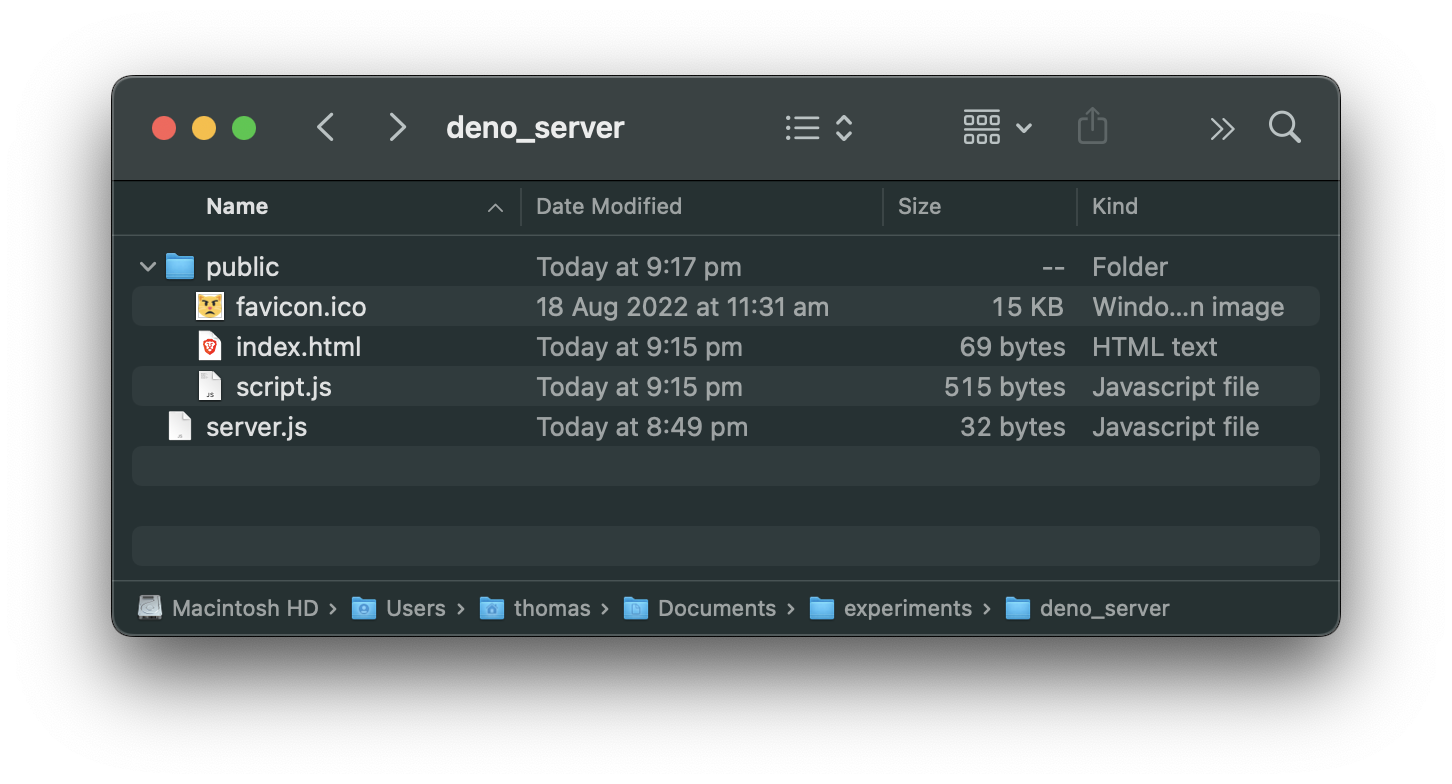
Make a new directory inside the deno_server directory called public -- this is the directory we will put our website in.
In the newly created public folder, create an index.html file containing:
<!doctype html>
<body>
    <script src=script.js></script>
</body>
... and a script.js file containing:
document.body.style.margin   = 0
document.body.style.overflow = `hidden`

const cnv = document.createElement (`canvas`)
cnv.width  = innerWidth
cnv.height = innerHeight

document.body.appendChild (cnv)

const ctx = cnv.getContext (`2d`)
ctx.fillStyle = `turquoise`
ctx.fillRect (0, 0, cnv.width, cnv.height)

const side = Math.min (cnv.width, cnv.height) / 3
const x_pos = (cnv.width / 2)  - (side / 2)
const y_pos = (cnv.height / 2) - (side / 2)

ctx.fillStyle = `deeppink`
ctx.fillRect (x_pos, y_pos, side, side)
Why not include a favicon.ico file from here for good measure?
All together, your file structure should look like this:
Cycle back to your server.js file and delete the console.log () call.
In order to serve the files we just created we will need to import the serve () function from Deno's standard library. The syntax for doing this in Deno, looks like this:
import { serve } from "https://deno.land/std@0.157.0/http/server.ts"We can read about the serve () function here. You will notice that some of the syntax in this documentation looks a bit different -- this is because Deno uses typescript. Try not to stress too much about this - it will also work just fine with our javascript.
What the documentation is telling us is that the serve () function takes two arguments, the first being a handler function (of type Handler), and the second being an options object (of type ServerInit).
The handler function takes an http request as its argument, and returns a Response object, containing some content for the browser to display. Let's define a handler function, and pass it to serve as the first argument:
import { serve } from "https://deno.land/std@0.157.0/http/server.ts"

serve (handler, { port: 80 })

function handler (req) {
    const content = "Hello, from the Deno server!!"
    return new Response (content)
}
Also note the second argument we are passing in to the serve () function, an object with one property -- port, which we are setting to 80, the default port used by the browser to display http content.
In the terminal, running the code again with deno run server.js should cause Deno to ask for net access permission:
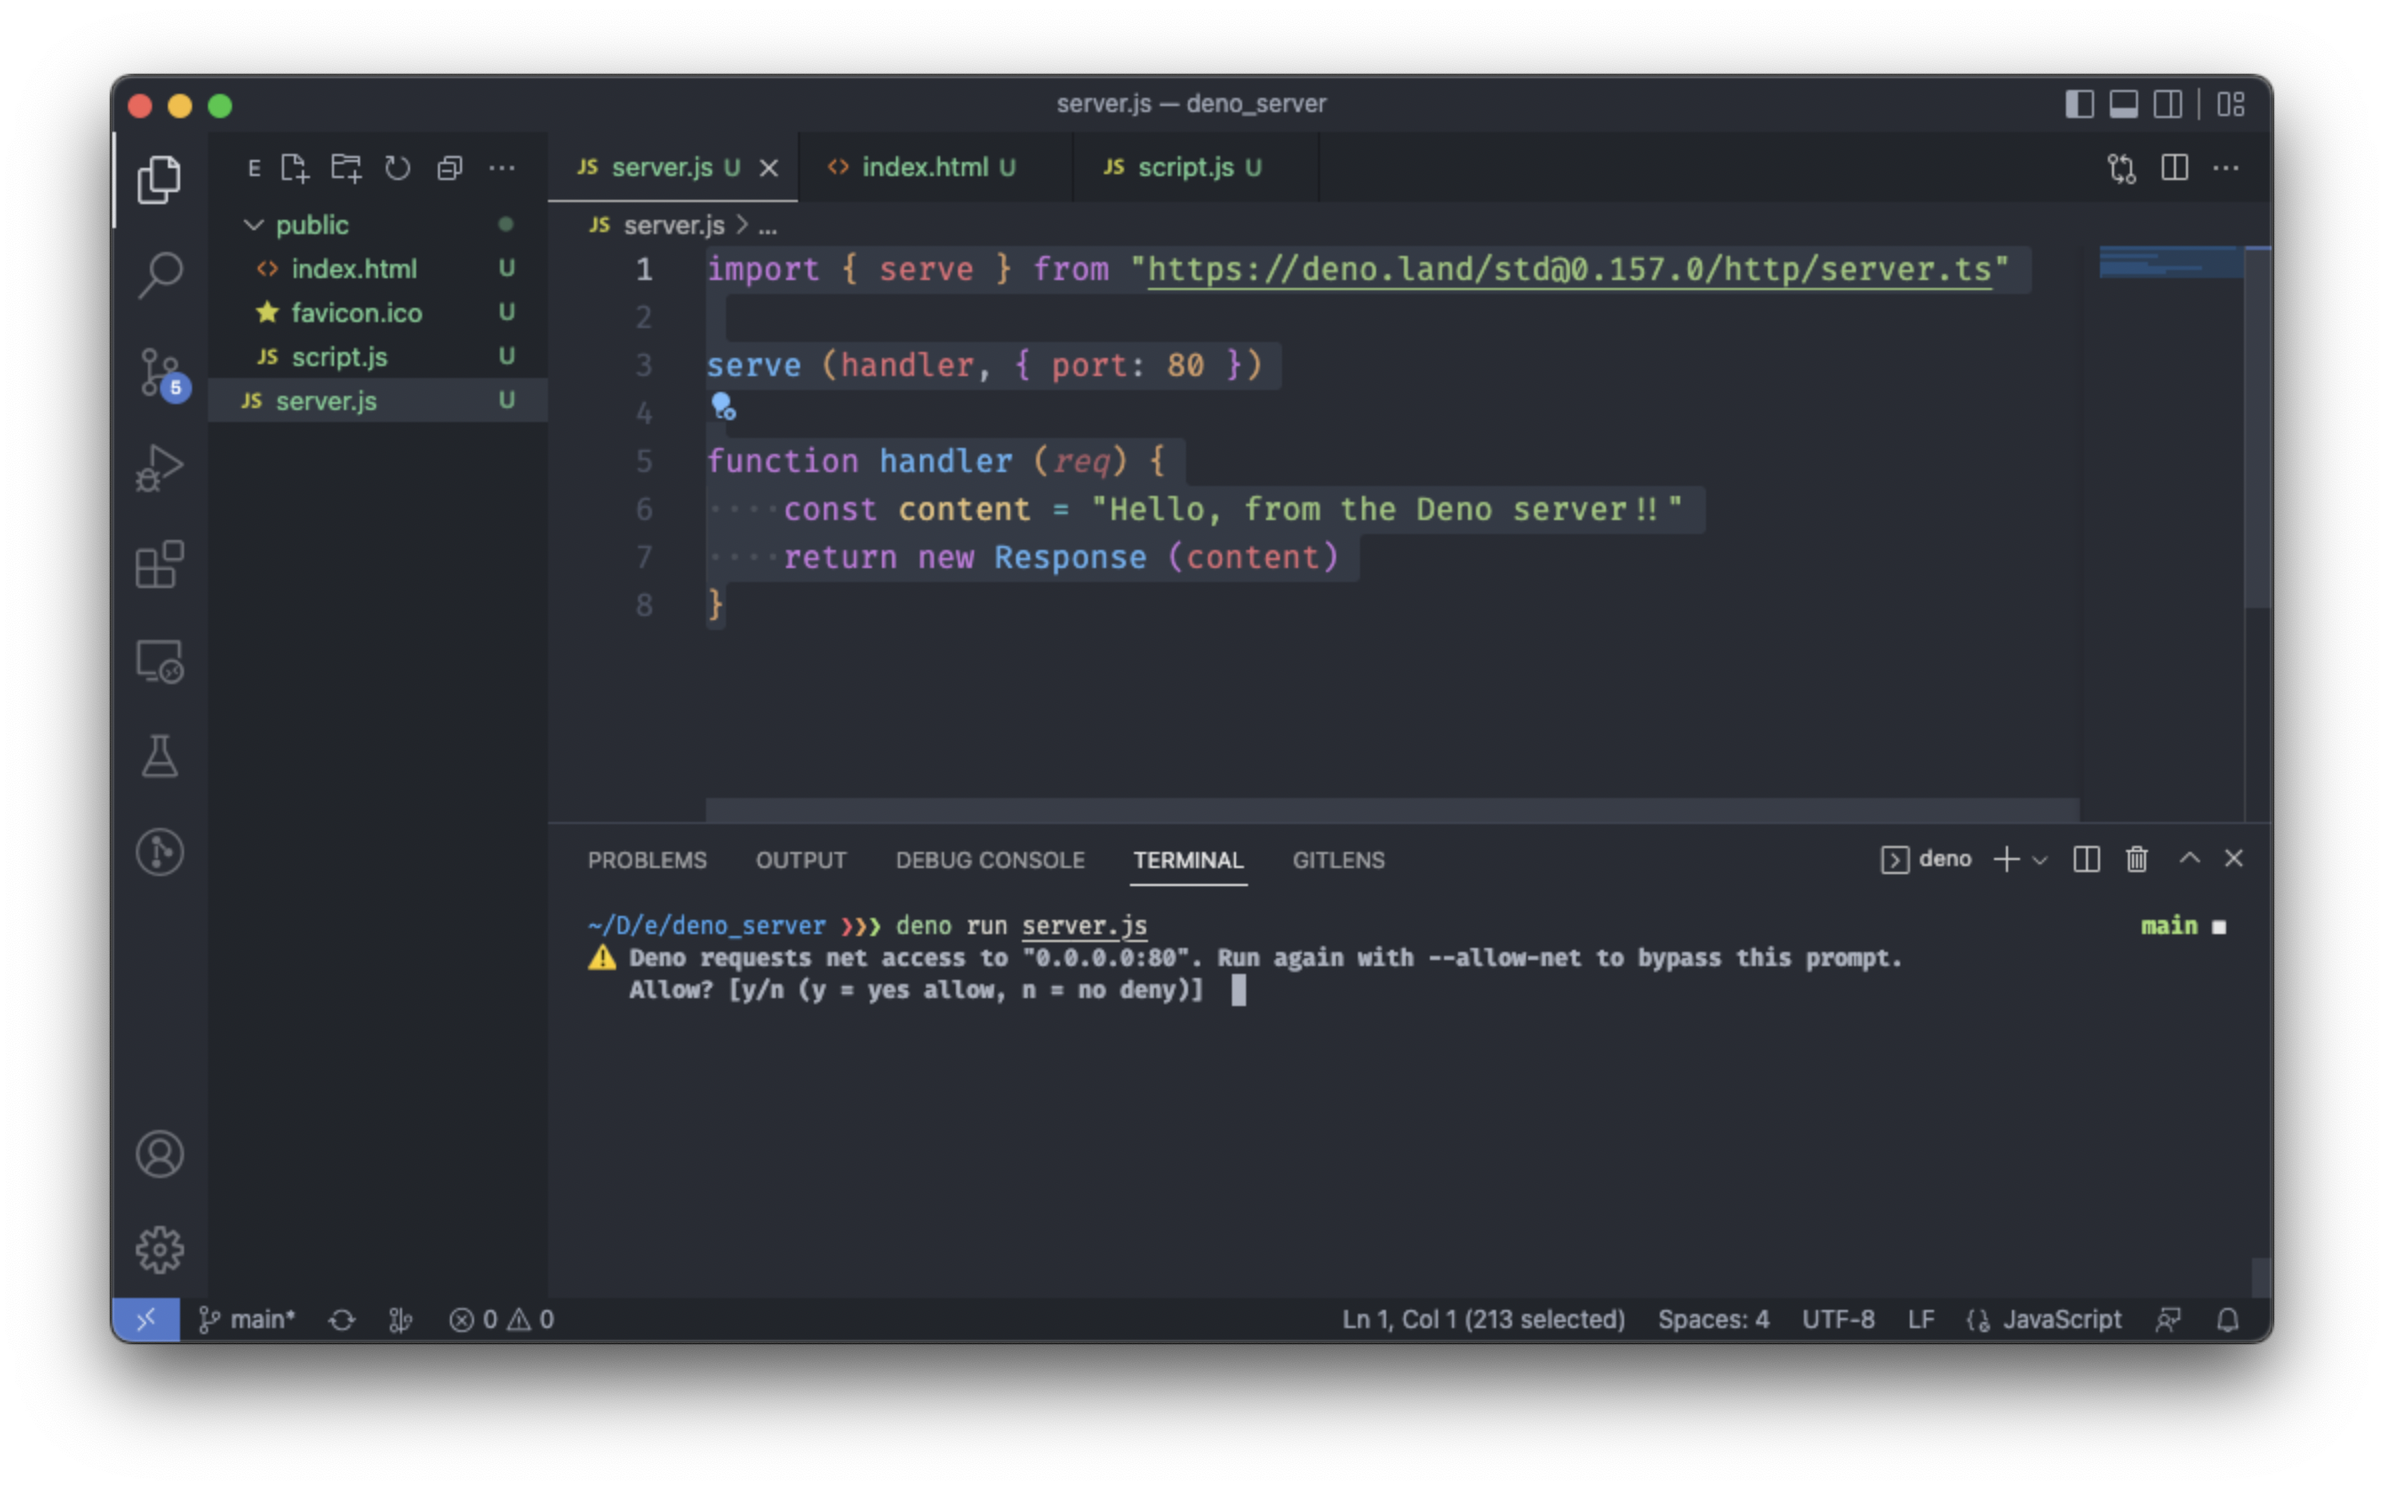
Next time we run the code, we'll use:
deno run --allow-net server.js... and the code should run without prompting us to give permission to serve content via an internet protocol.
This time, however, we can just give the required permissions by pressing y.
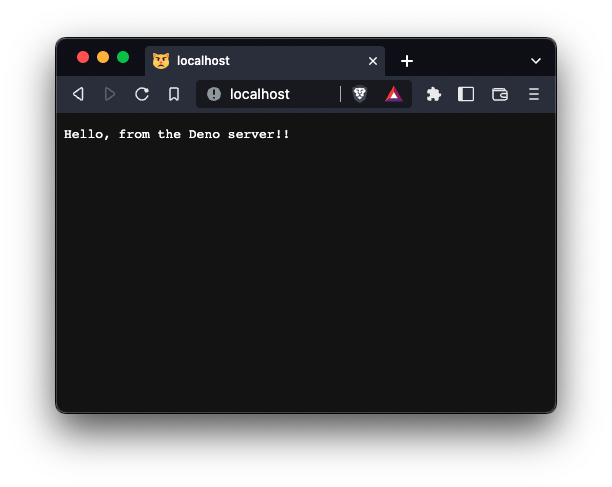
The terminal should then display: Listening on http://localhost:80
If you go to a browser and type localhost into the URL bar, you should see something like this:
Cycle back to the terminal, and press ctrl + C to shut down the server.
In order to serve the website in the public directory, we will want an additional function from the Deno standard library - serveDir (). You can read about serveDir () here.
Note that serveDir () accepts a request as its first argument, and an options object as its second argument -- it will serve whatever directory lies at the path location specified on the fsRoot property of the options object passed in as the second argument.
Consider the following code:
import { serve } from "https://deno.land/std@0.157.0/http/server.ts"
import { serveDir } from "https://deno.land/std@0.157.0/http/file_server.ts"

serve (handler, { port: 80 })

function handler (req) {

    const options = {
        fsRoot: `public`
    }

    return serveDir (req, options)
}
Inside the handler () function definition, we are creating an options object with one property, fsRoot, to which the path string `public` is assigned. We are then passing in to the serveDir () function, the request parameter that specifies the request serve () will pass in to the handler () function, and this options object that specifies the path of the directory we want serve () to respond with.
Running this code with deno run --allow-net server.js looks like it is working.
However, if we cycle to a browser and try to navigate to localhost, we can see that nothing loads. If we cycle back to the terminal, we can see that Deno is prompting us for more permissions -- this time it wants --allow-read so that it can access the file system and retrieve the contents of the public folder we have directed it to.
We will include that flag next time we run it. For the time being we can just press y.
Refreshing the browser at localhost should display this:
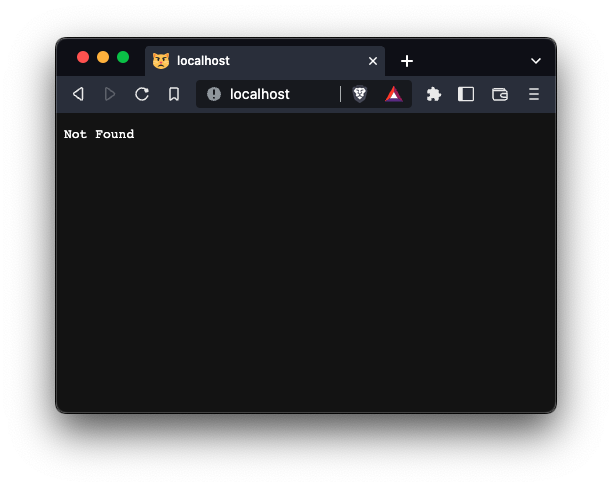
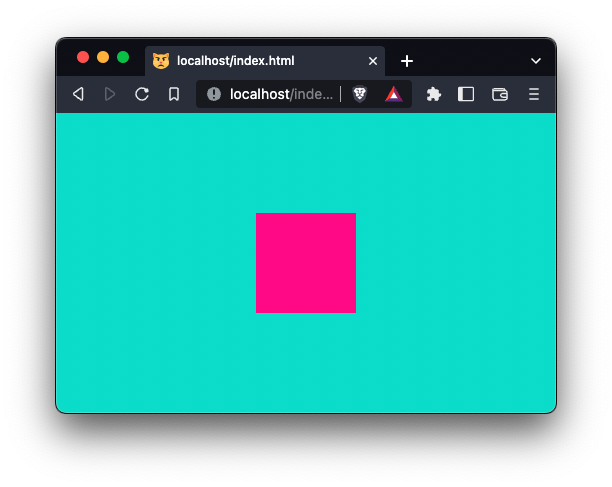
The reason is because it doesn't assume you want to go to the index.html page. Typing it into the URL bar explicitly, like this: localhost/index.html, should reveal the website:
We can code our server to default to index.html by including some conditional logic:
import { serve } from "https://deno.land/std@0.157.0/http/server.ts"
import { serveDir } from "https://deno.land/std@0.157.0/http/file_server.ts"

serve (handler, { port: 80 })

function handler (req) {

    const options = {
        fsRoot: `public`
    }

    if (req.url.endsWith (`/`)) {
        const aug_req = new Request (`${ req.url }index.html`, req)
        return serveDir (aug_req, options)
    }

    return serveDir (req, options)
}
Running this again, with:
deno run --allow-net --allow-read server.js... should let us access the website from localhost:
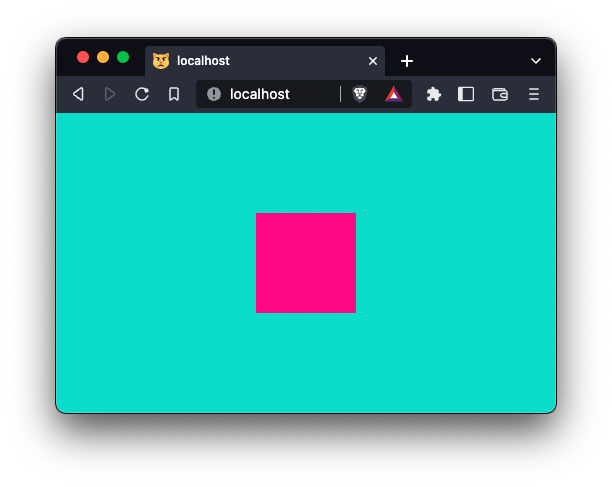
Git add / commit / push like this:
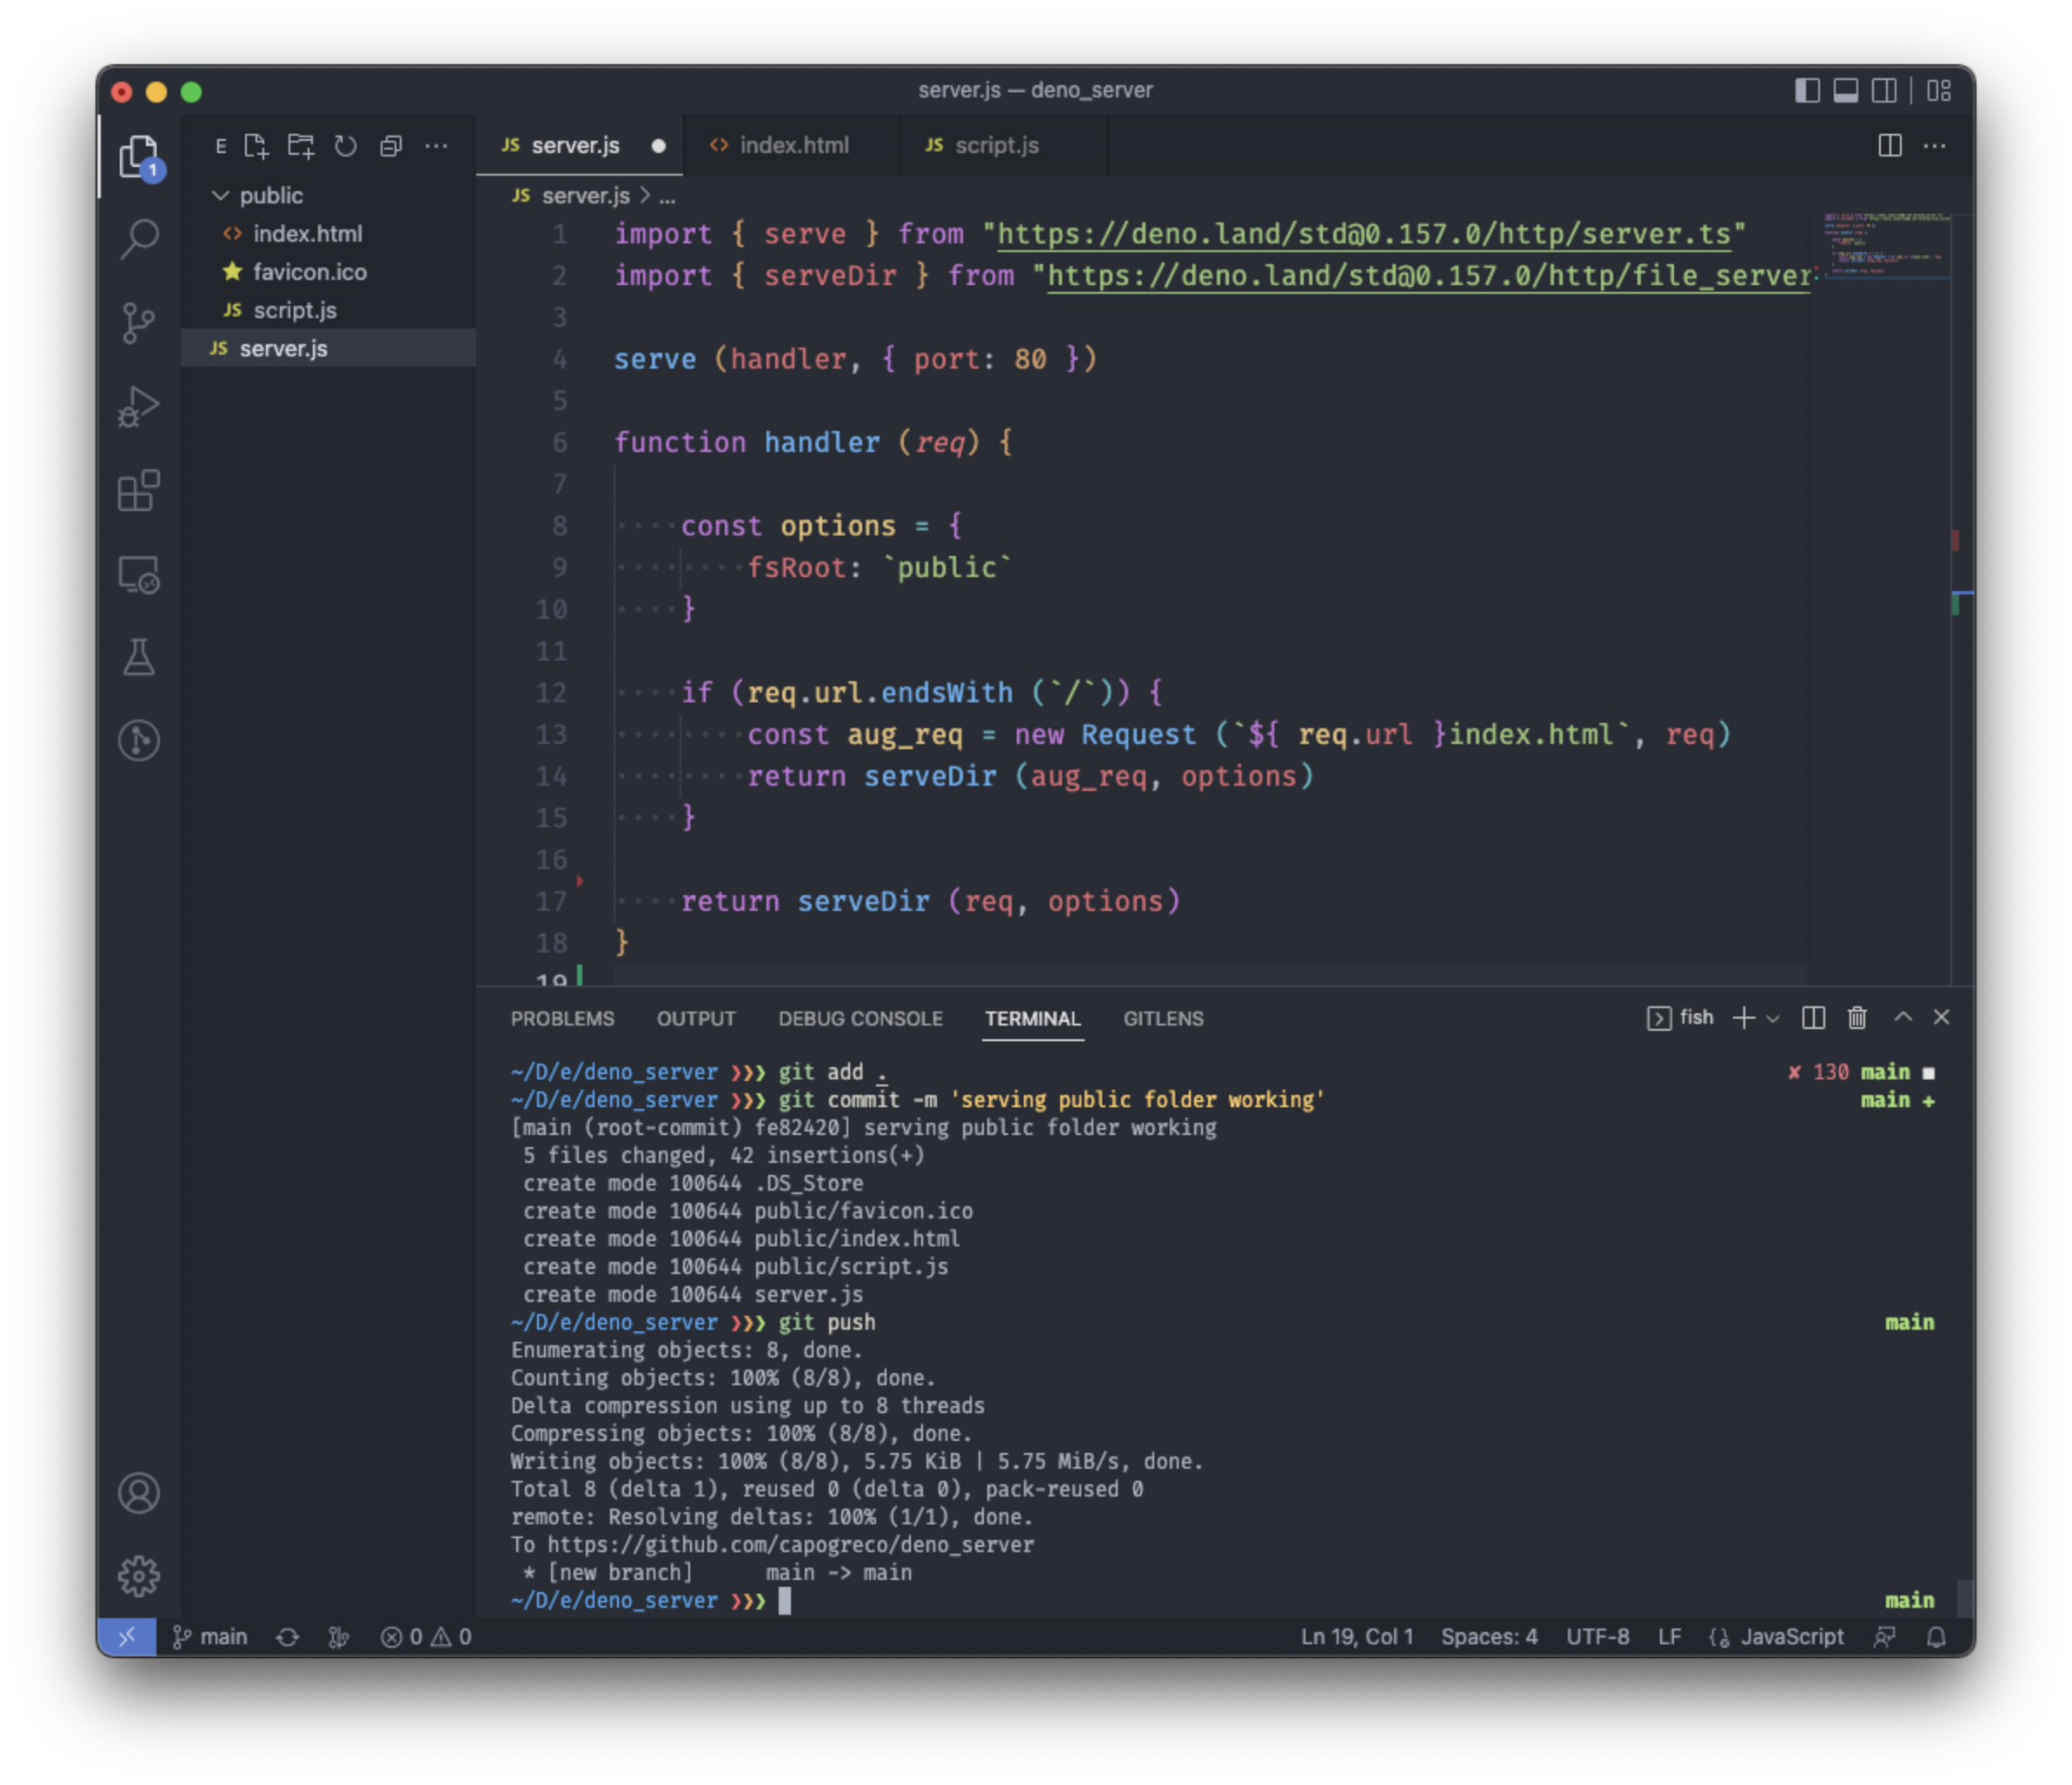
Deno Deploy
One of the really great things about Deno is the ability to push code via Deno Deploy. Sign in and connect it to your GitHub account.
Once you are signed in, click on New Project. You should be able to select your GitHub account, and search for deno_server in your repositories. Select the main branch, and click Automatic. Choose the server.js file, and click Link.
Once it is done linking your github repo, you should see a page like this:
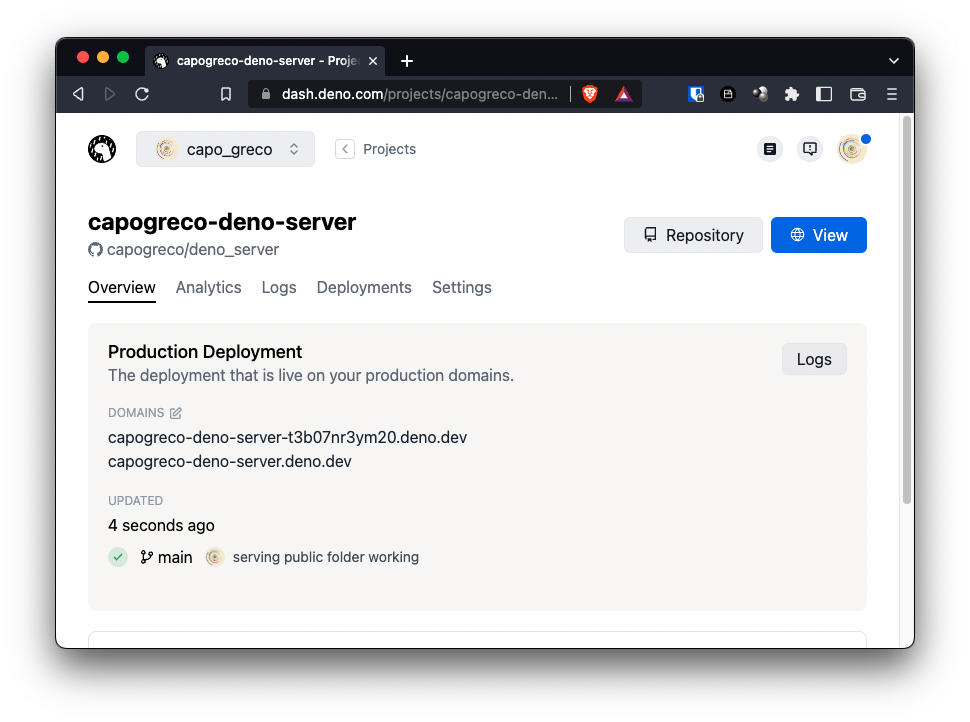
Clicking on View will take you to where your server has been deployed:
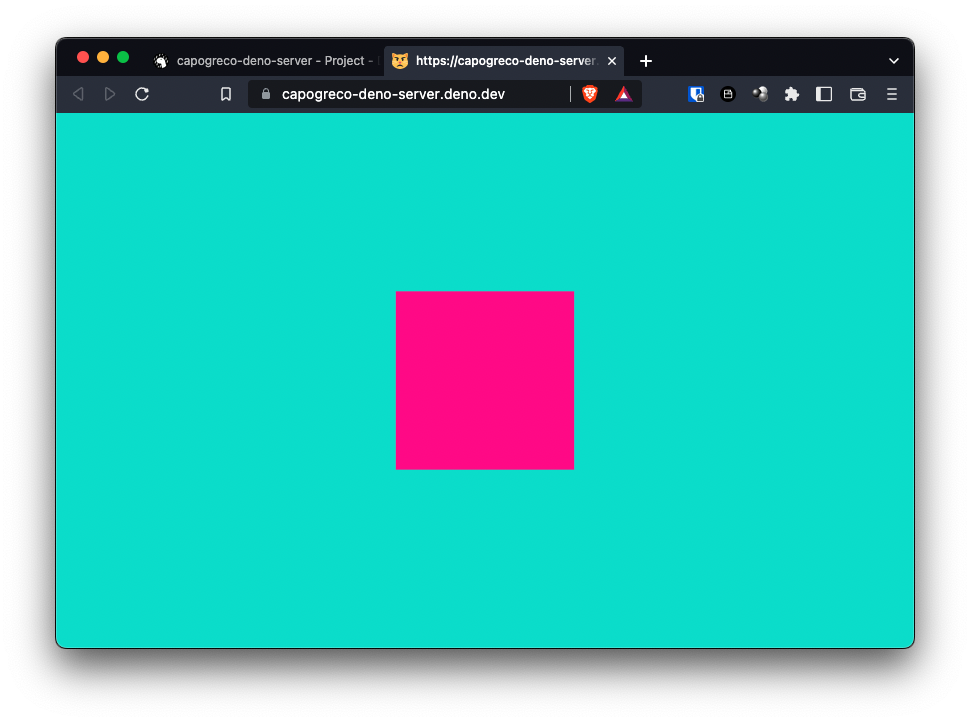
Note the URL where your code is live. Pushing to your github repo will automatically deploy any changes here.